Here's my story...
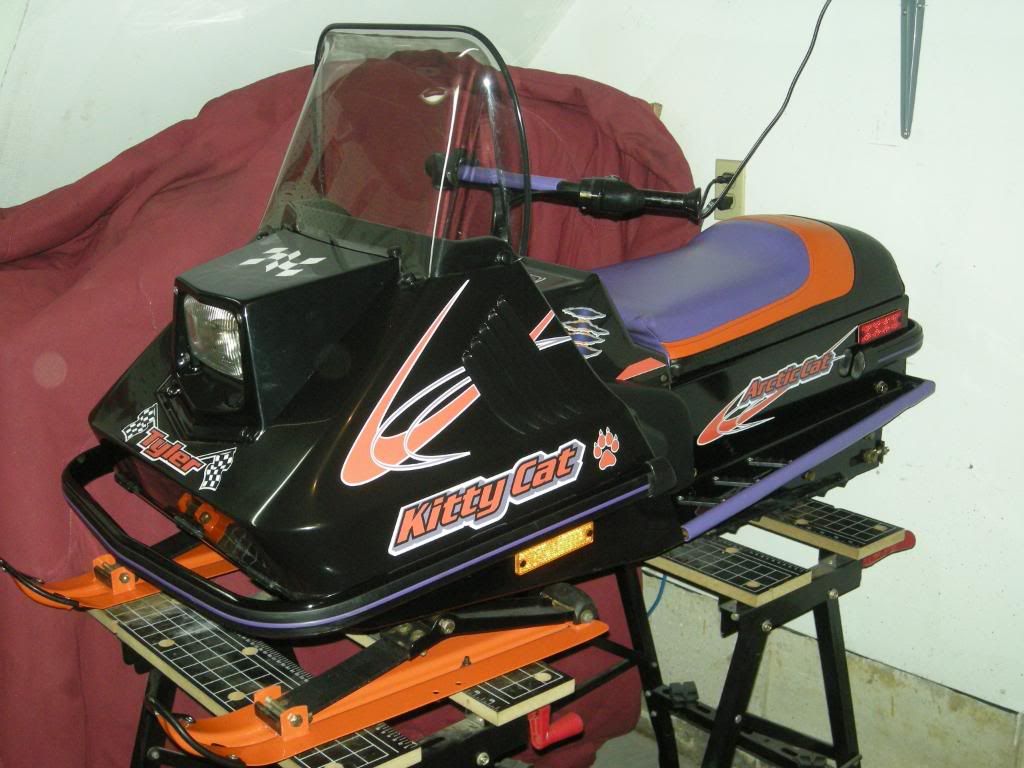
I bought this 1997 Kitty Cat about a month ago which was in pretty rough shape but it ran really well. I can only assume it had been stored outdoors in the past.
I now wish I had of taken some before and during restoration photos. I got a great deal on it so I figured I would clean it up as best as I could myself and keep the overall costs to a minimum and attempt to make it look as new as possible.
The skis and tunnel had a lot of rust on them leaving the paint flaking off in large chunks. I stripped all the old paint and re-painted all the metal parts I could remove including the aluminum bumpers. Other than the engine I had the sled totally dismantled at one time during the restoration.
The paint on the underside of the tunnel and running boards was all flaking off as well. I scraped off all the loose paint and gave it a quick coat of rubberized asphalt undercoat spray.
The front bumber had a pretty good dent in it that I managed to straighten back out with a propane torch, rubber mallet and concrete floor.
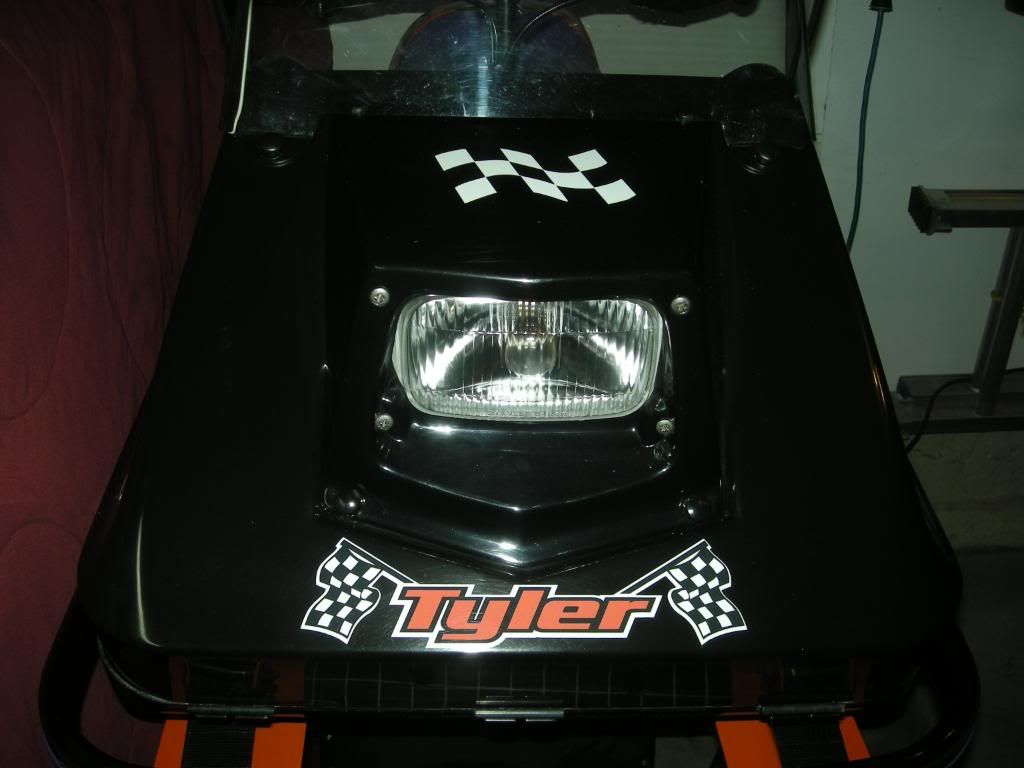
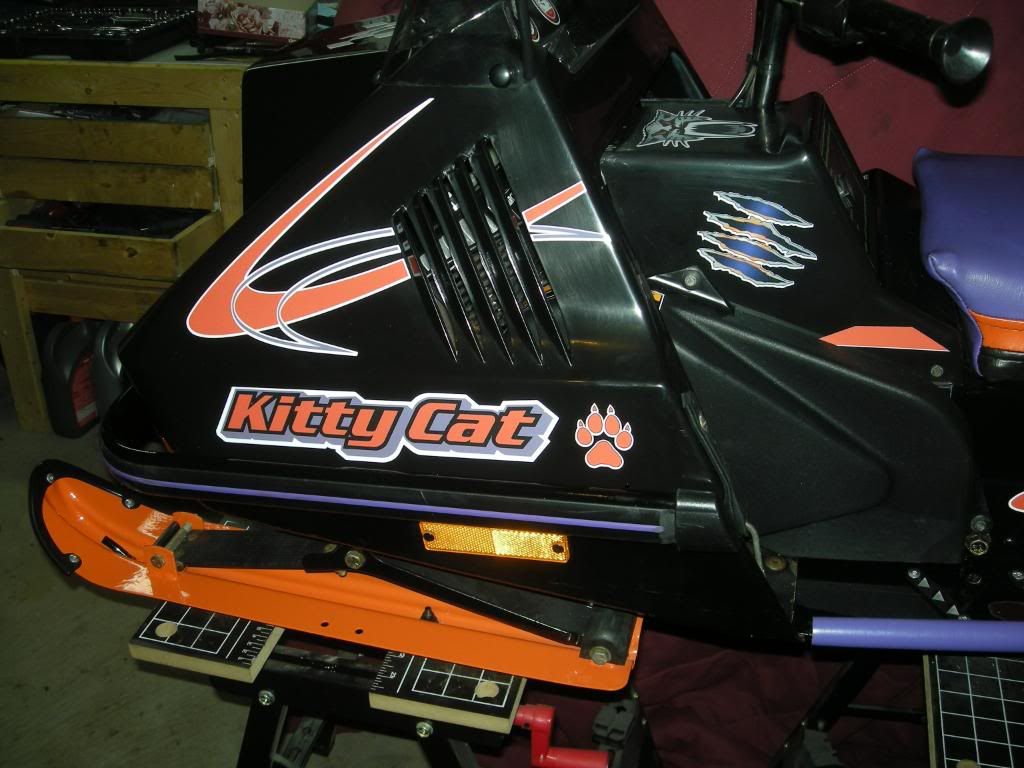
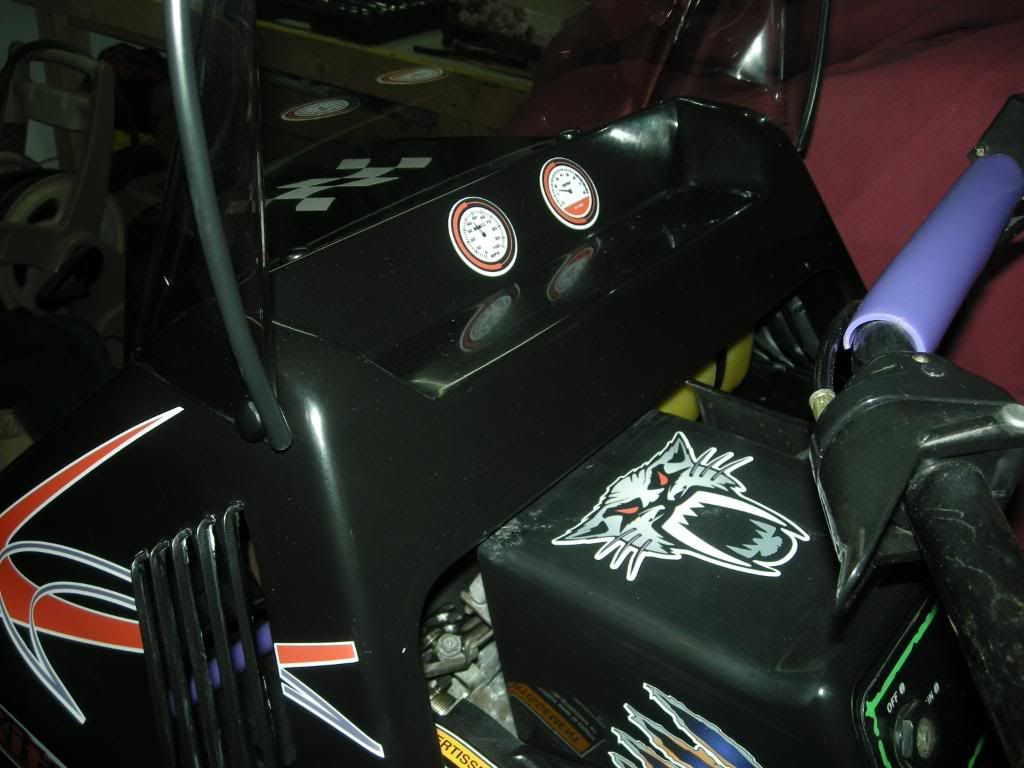
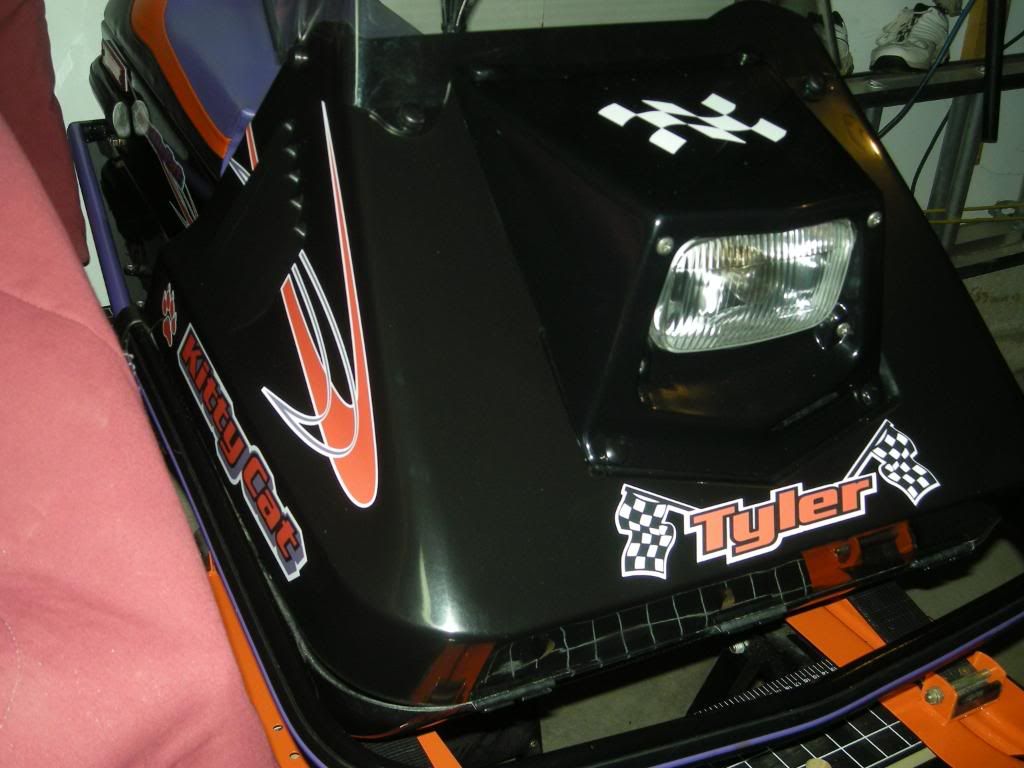
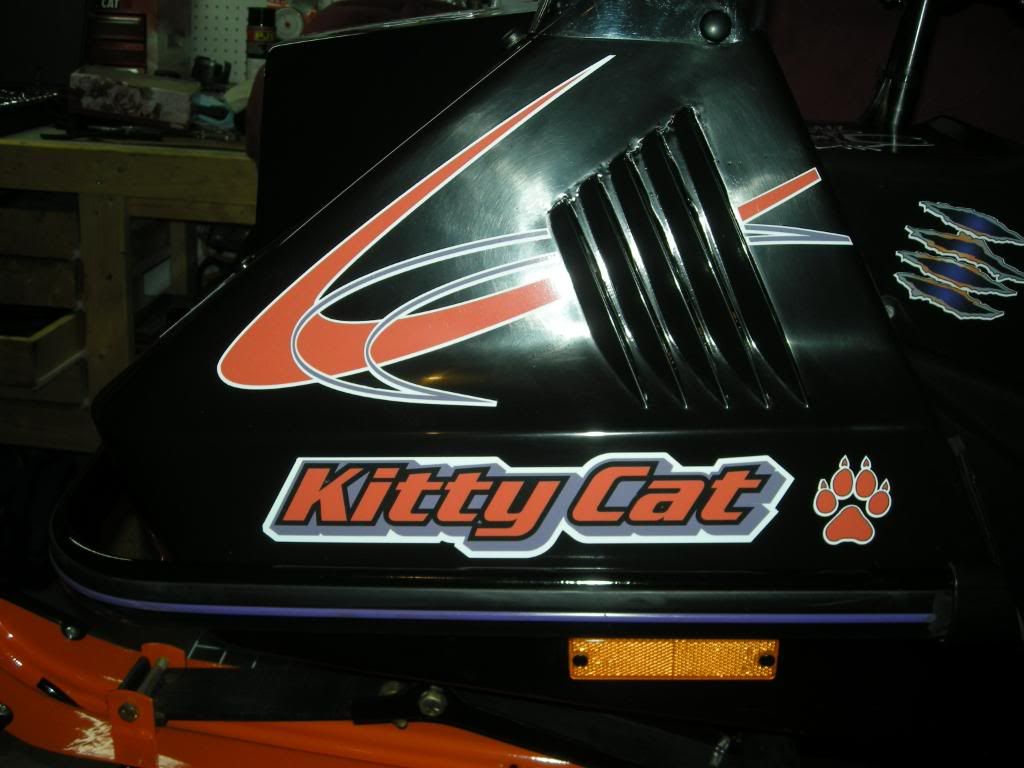
The hood had 5 or 6 major cracks in it as well. This was the most time consuming part. With a lot of patience I was able to "weld" the cracks on both the inside and outside surfaces using the pointed tip of a soldering iron. Basically, one side at a time I made a v-groove along the length of the crack and then went back over it to feather the raised outside edges back into the groove to create as smooth of a surface repair as possible. On the top side of the repairs I used a plastic weld compound like you would use drywall mud and filled in any remaining voids then sanding it all down.
I lost track of how many coats of paint I applied and had to sand it back down again and again until I was satisfied with the finish. With a lot of wet sanding between coats and over the final coat it looks like a brand new plastic hood now even though it is painted. It even blends into the headlight assembly that was only polished up and not painted.
I did leave the repairs on the underside of the hood just to show others that it was actually cracked and I managed to repair it. My neighbour thought I finally gave in and took the hood to the body shop for final painting.
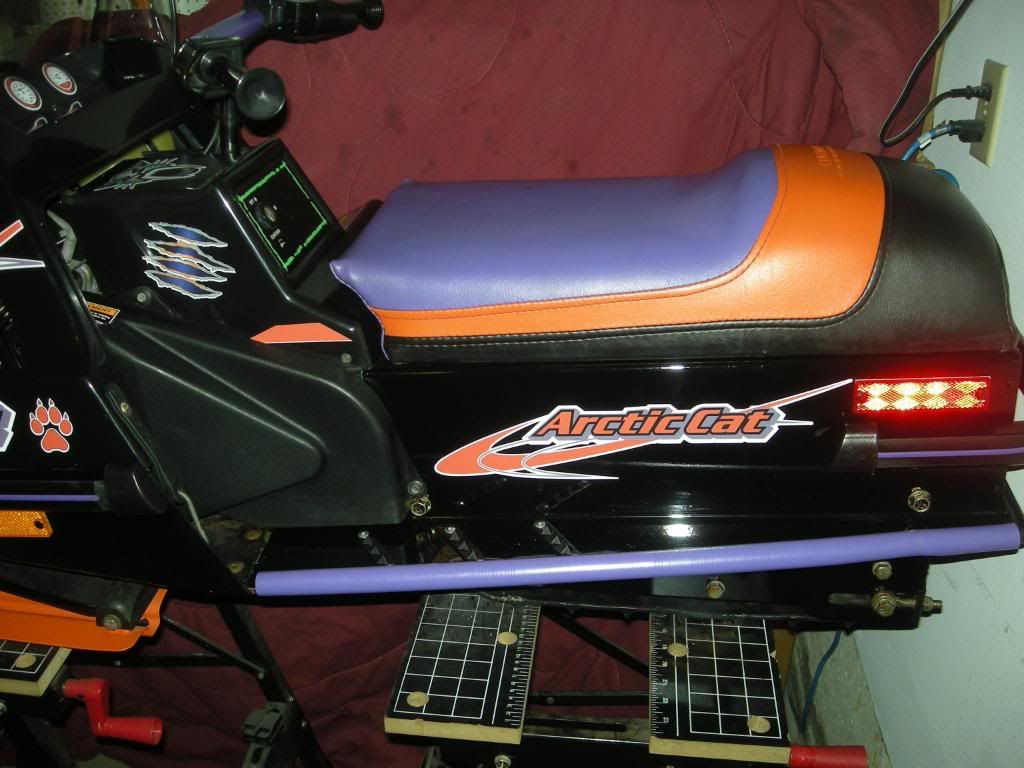
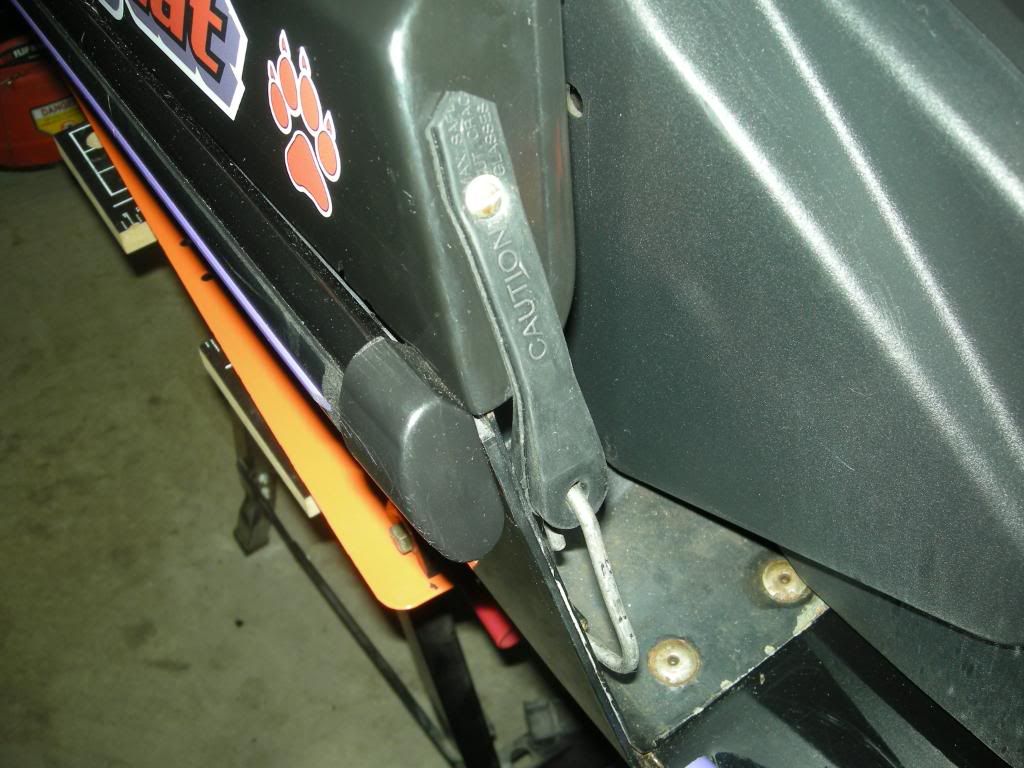
The other plastic parts were in decent shape. I just removed each of them and used some plastic polish to restore the shine.
The very back end of the seat had a sticker on it to hide a tear in the vinyl. I gave in and took the seat apart to fix the tear with a vinyl prepair kit. Didn't turn out quite as nice as the hood but at least the tear is repaired now to avoid it being torn any more. Glad i did remove the seat cover after all. The seat pad was water logged and the original partical board seat base was all starting to rot out. Went to Home Depot and picked up a cut-off piece of plywood from their cut-shop for a buck and shaped it to match the original.
I also installed a rear-end deep snow kit that the previous owner had ordered but never installed. I don't think it is a famous DTM kit but it will do the trick. The previous owner didn't order the front spindles so I will try to configure something to raise the front end up a couple of inches down the road.
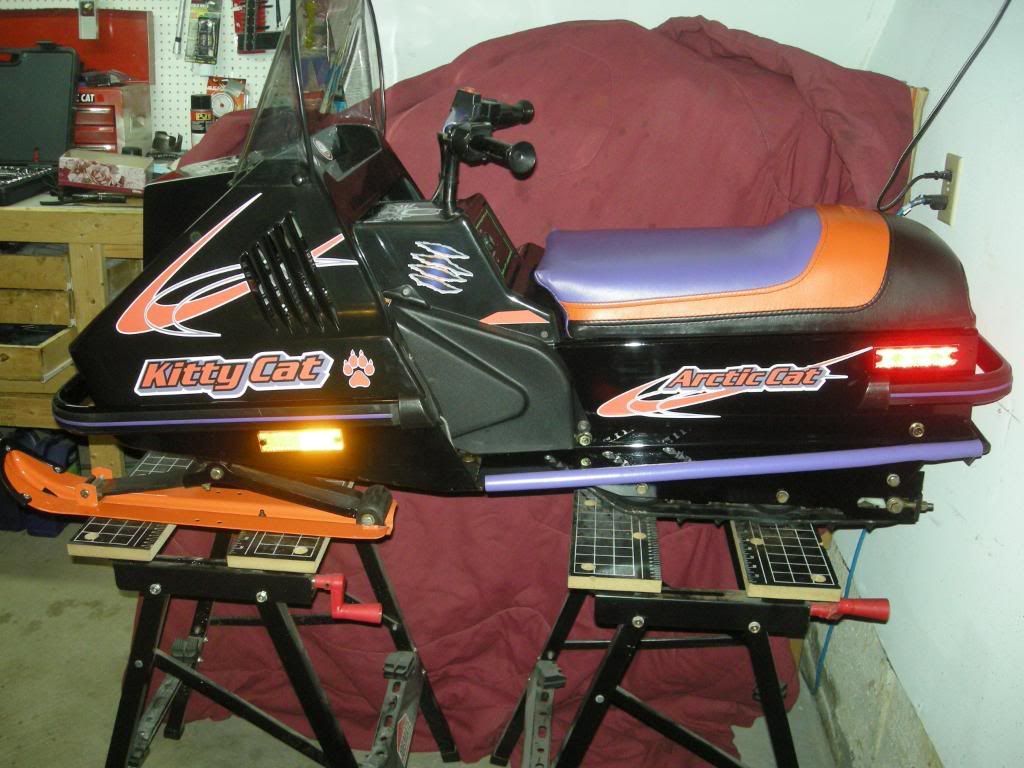
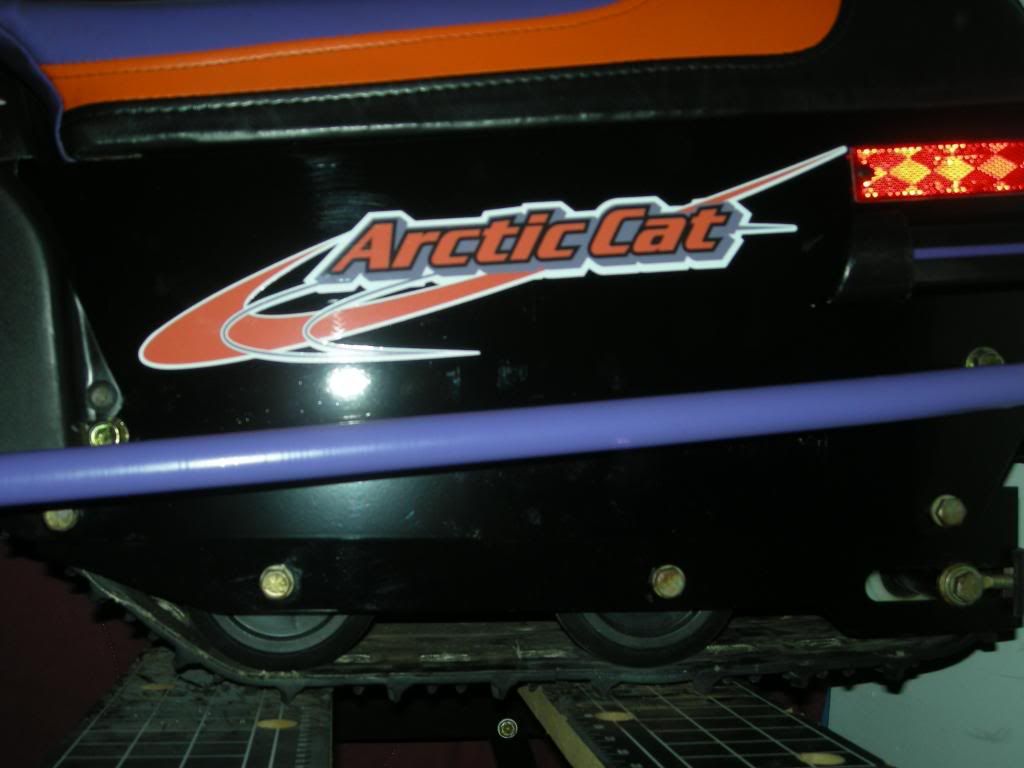
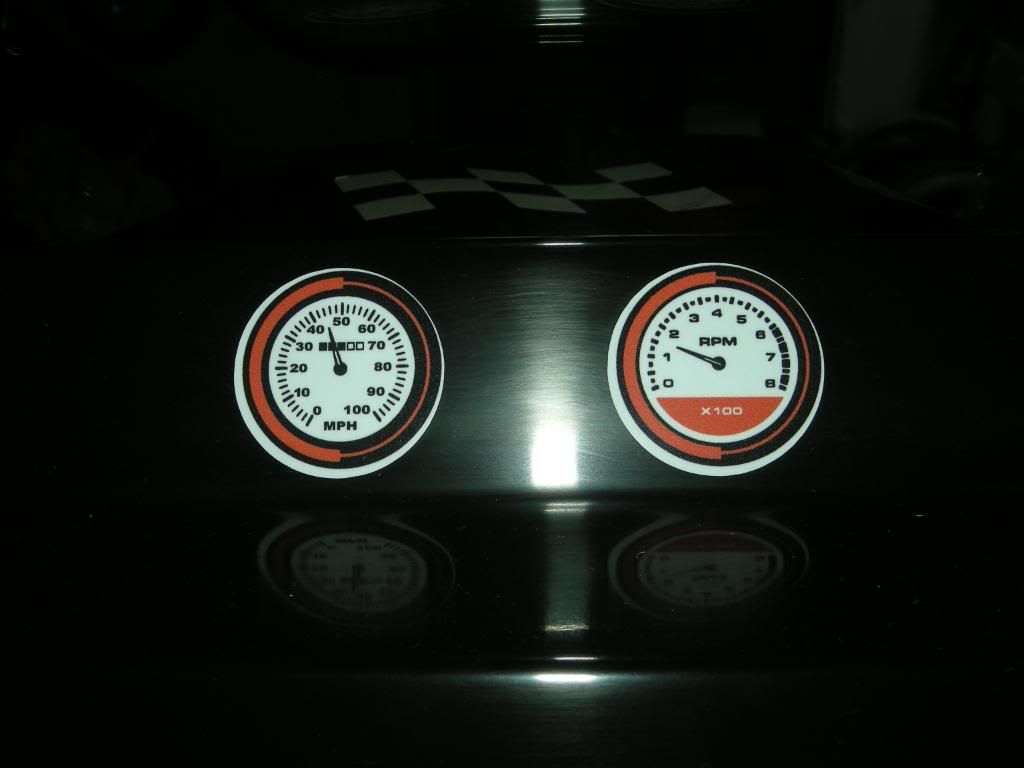
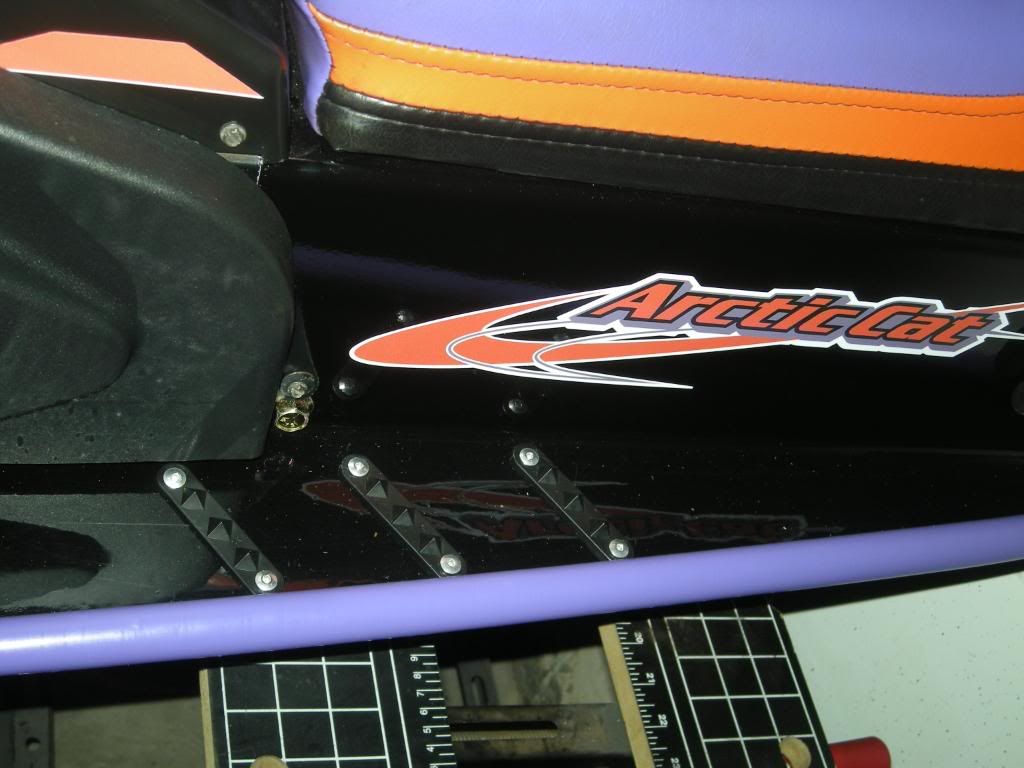
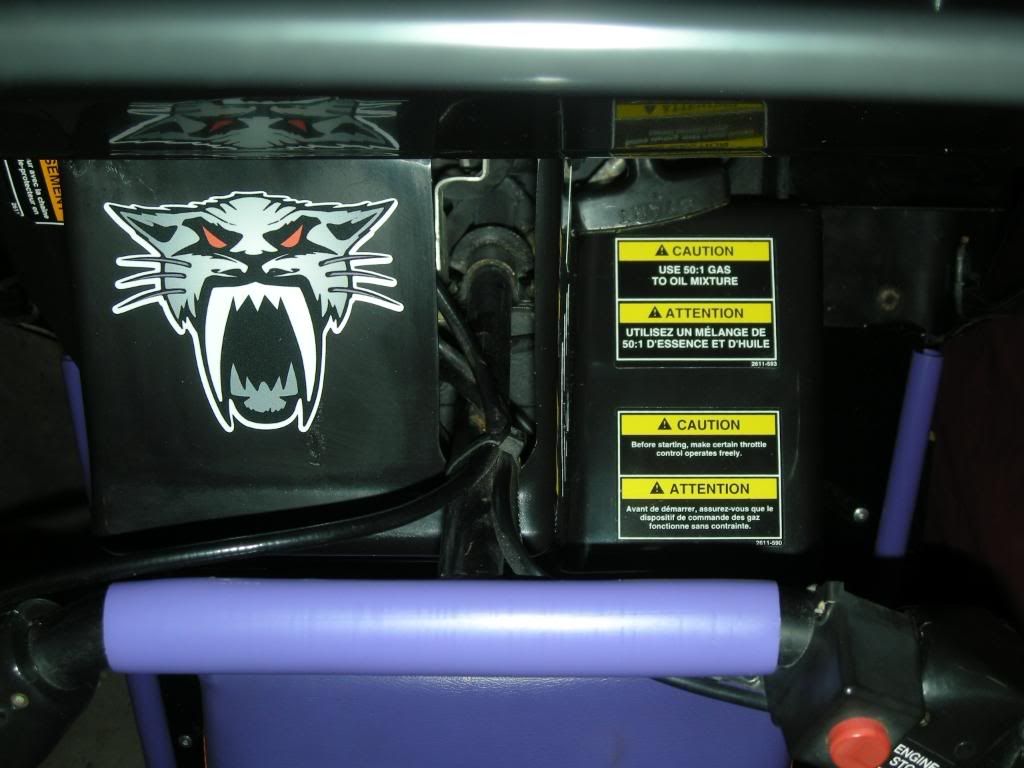
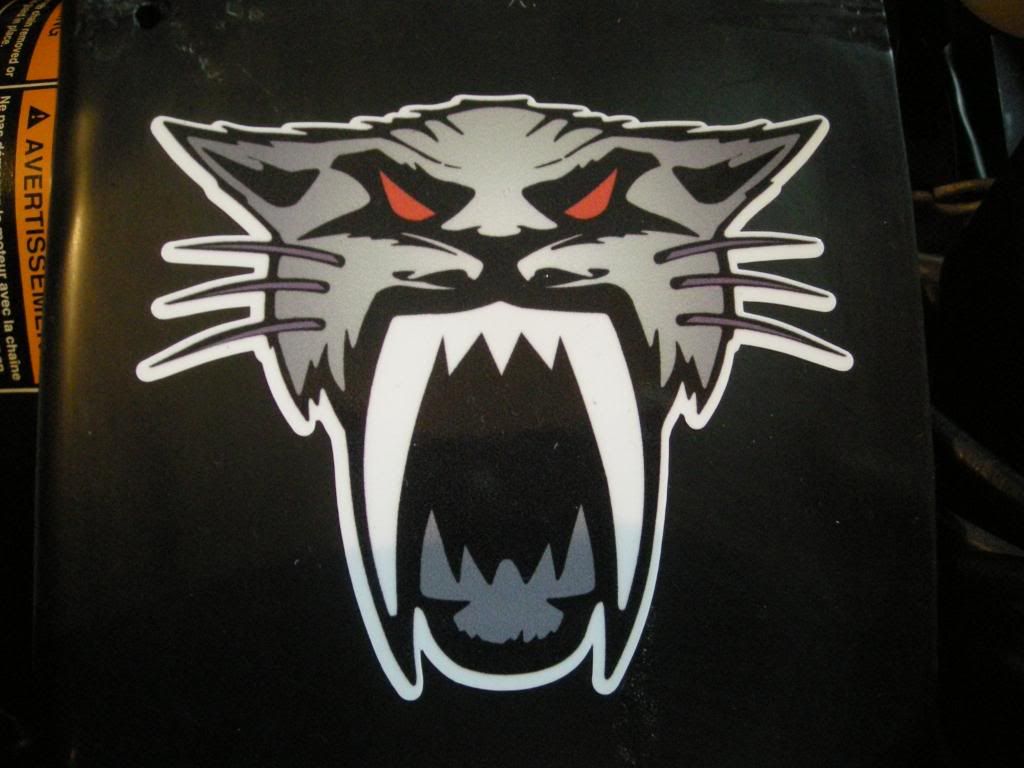
During the entire process I was also working with a local sign shop to design some new custom graphics for it as all the original graphics needed to be remove during the restoration.
Lastly, to avoid having to do this all over again, I added some traction strips to the running boards to keep his boots up off the paint. Hopefully this will avoid premature wearing of the paint where his feet will rest as was the case before I started the repairs.
It took a lot of late nights but all in all I think it was all worth it and glad it is done now. Just hope my son enjoys it now after all the work I put into it. I'm sure he will get years of enjoyment out of it.
Here are a few poor quality photos taken with the camera on my cell phone for the time being. More photos to follow.
Please feel free to contact me with any questions or comments. I have learned quite a bit about the sled during the process and would be happen to share any tips I have.
Link to photos...
http://s749.photobucket.com/albums/xx13 ... 17_photos/