I would have gone with a 2.5 hp engine if I could have found one, and really would have preffered a 4hp. However, I found a pretty good price on a motor locally, and it really looked like I could make it fit.
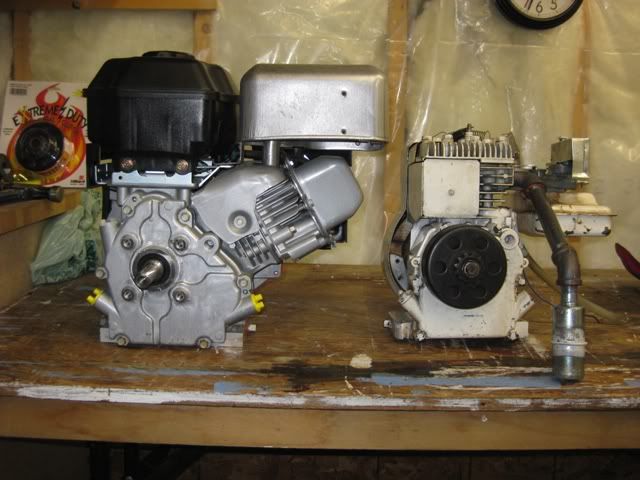
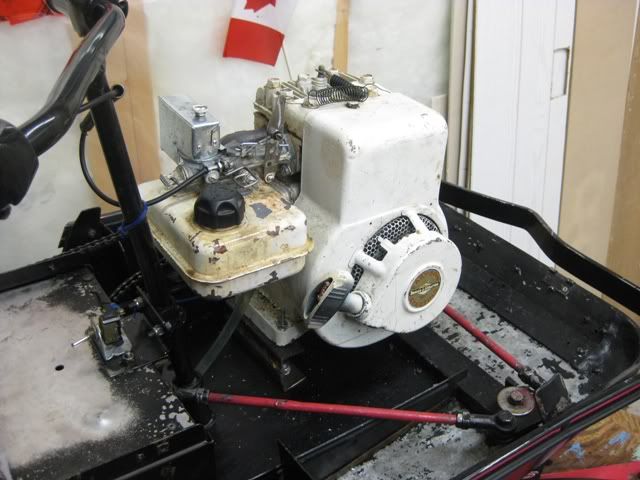
It's a Briggs and Stratton 8hp Intek motor. Pretty stupid, its supposed to be like 250cc. But it looks like it will actually fit.
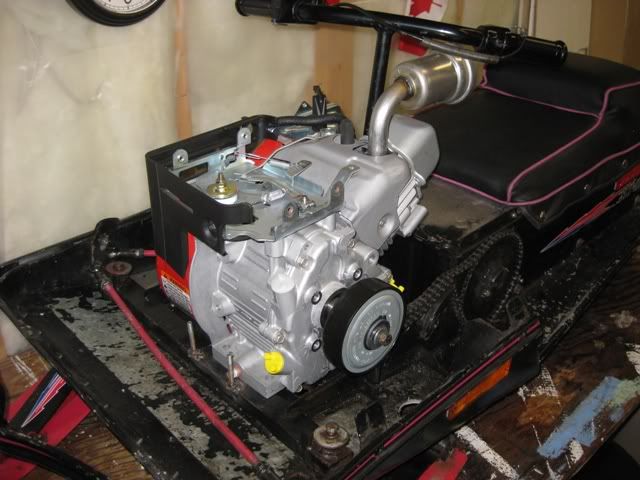
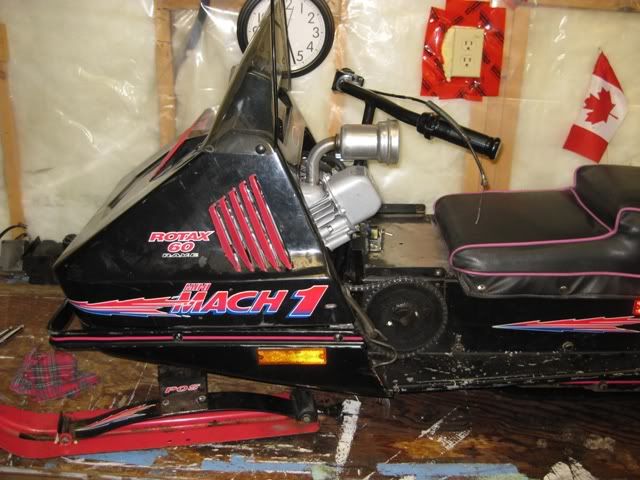
I took the fuel tank off the top so I can get the hood back on.
I'm not looking to make a racer or any rediculous speed. I'll play with the gearing to keep it reasonable for my kids, and will likely keep the govenor in place if it will allow. I just want it to start easy, run smooth, and pull the kids around.
Right now the engine is just sitting loose in place. The next steps are to;
- pick final motor location, I set it as far back as possible so I dont have to mess with the steering arms, but I may move it forward if I can get the exhaust under the hood.
- make motor mount to bolt engine in place
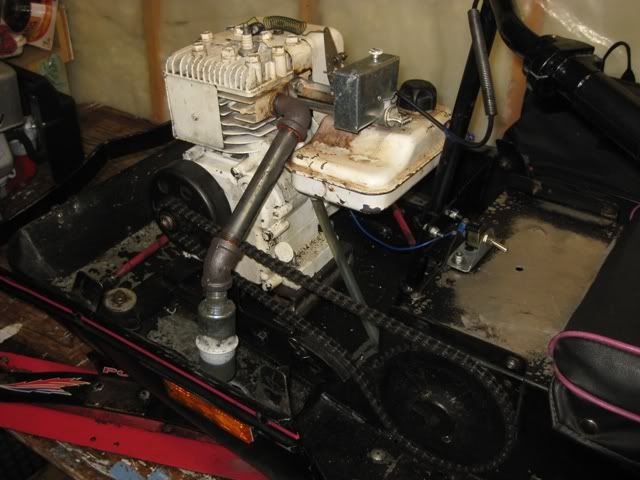
- make a mount for a smaller fuel tank off to the side of the motor under the hood
- connect the throttle - I have not yet figgured out how the linkages are supposed to work on this motor
- the trickiest part for me, make new exhaust piping to get the muffler under the hood and out the bottom of the belly pan. Looks like I will need some heat shielding.
I'm building in on the cheap, mostly with whatever tools and material I already have in the garage. I can grind and weld, but dont have any fancy saws, lathes or pipe benders. Sure could use them now though.
I'm hoping to get it running safe enough for the kids within just over a week before we head out to the cabin for the first time this winter. I'll repost as it progresses.
 [/img]
